Setting up Yotascale SSO with Okta using the SAML Auth provider
Currently Yotascale provides support for Google Auth, SAML (through Okta or Ping Identity) or Okta OpenID authentication in addition to username/password logins. Google Auth can be used alongside any 1 of the other Authentication Providers. Adding SAML or OpenID will override the username/password authentication. This guide focuses on setting up Okta as your IdP using Yotascale's SAML authentication provider.
Yotascale - Retrieve SAML Auth data:
Login to Yotascale with a user account that has Admin Role access
Go to the Settings Menu
Under Users and Permissions select Manage Auth Providers
Select "+ New Provider"
Select “SAML”
Enter an Organization name
This is required in order to create the URLs.
At bottom of page copy and save the SSO/ACS URL:
Example: https://login.yotascale.io/login/callback?connection=org_name
Keep the page open
Okta - Create Application
Login to Okta
Select Applications
Select "Create App Integration"
In the popup view select “SAML 2.0”
Click Next
For App Integration Name enter a name: example: "Yotascale SAML"
Add App logo if required
Select Next
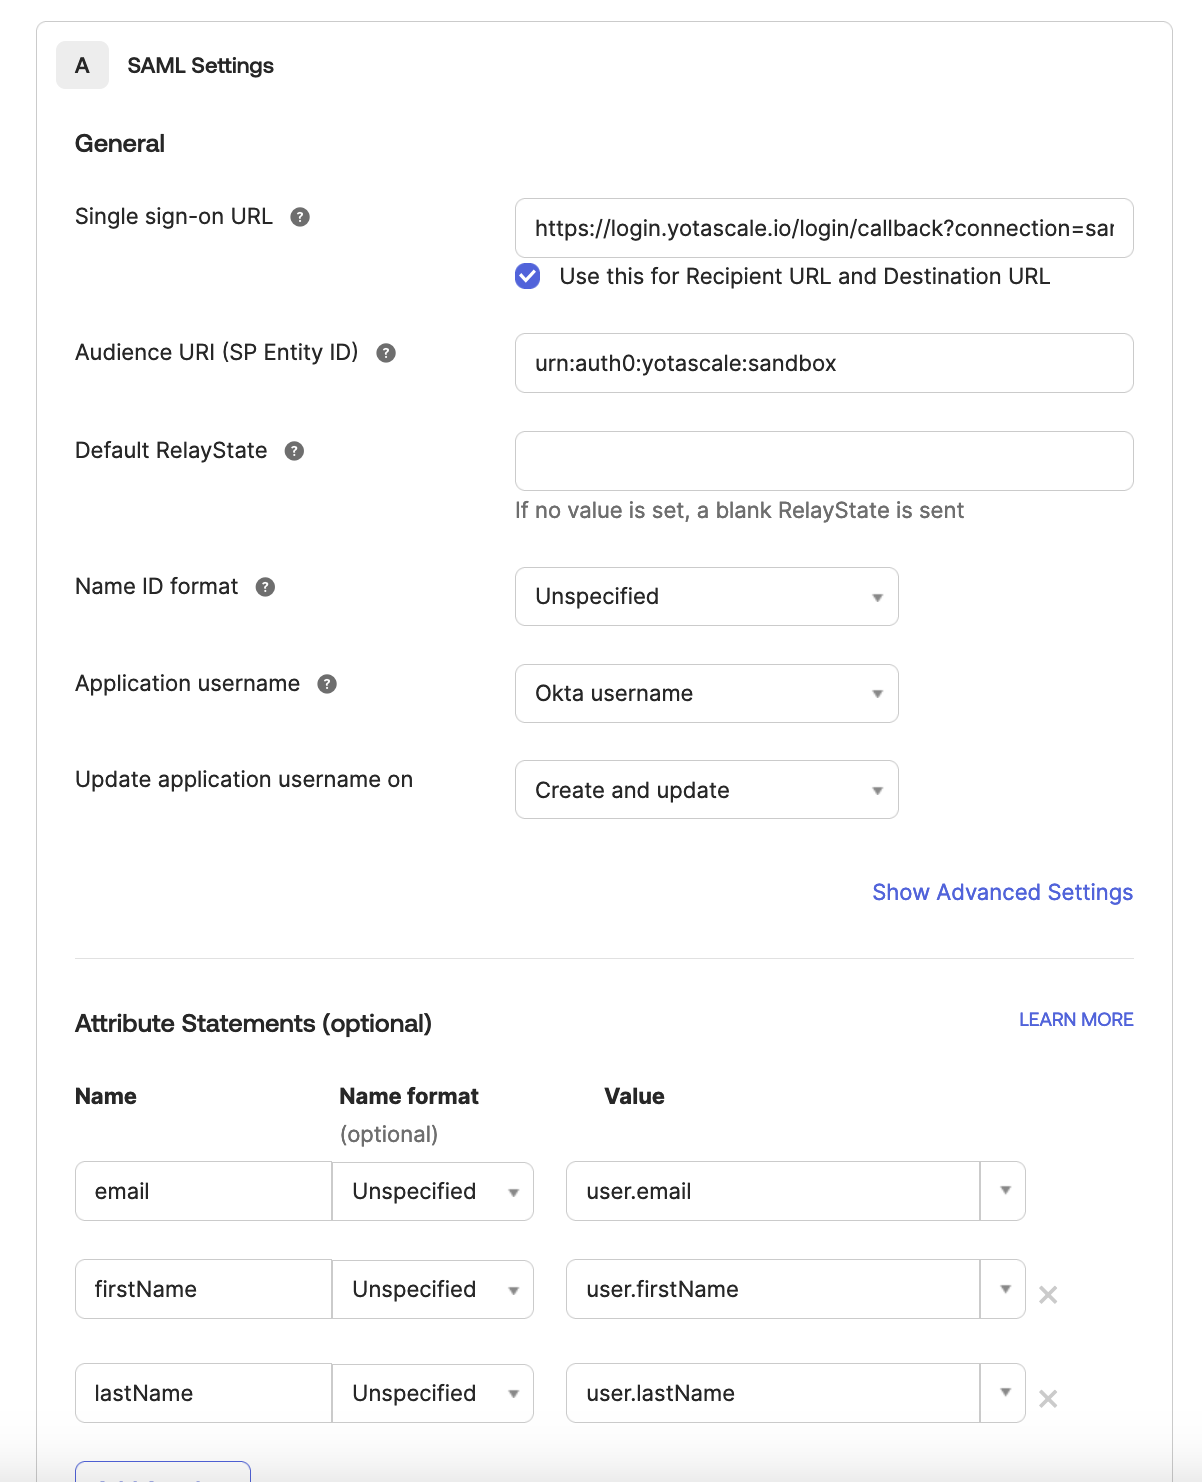
You should be in the SAML Settings window
For Single sign-on URL enter the saved data SSO/ACS URL from Yotascale
Add these three attribute statements in the attribute section with Name Format "Unspecified":
"email" set to "user.email"
"firstName" set to "user.firstName" (optional)
"lastName" set to "user.lastName" (optional)
Click Preview the SAML Assertion to view the XML generated from the SAML settings (Optional)
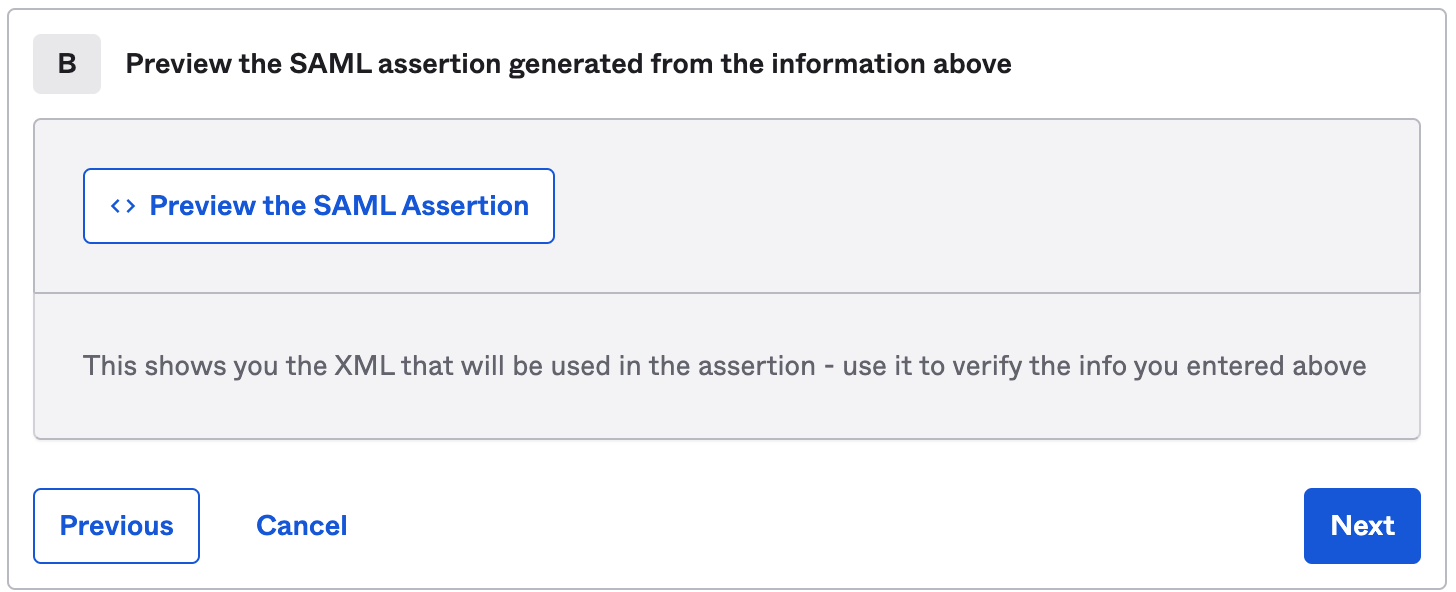
Click Next
Select Finish
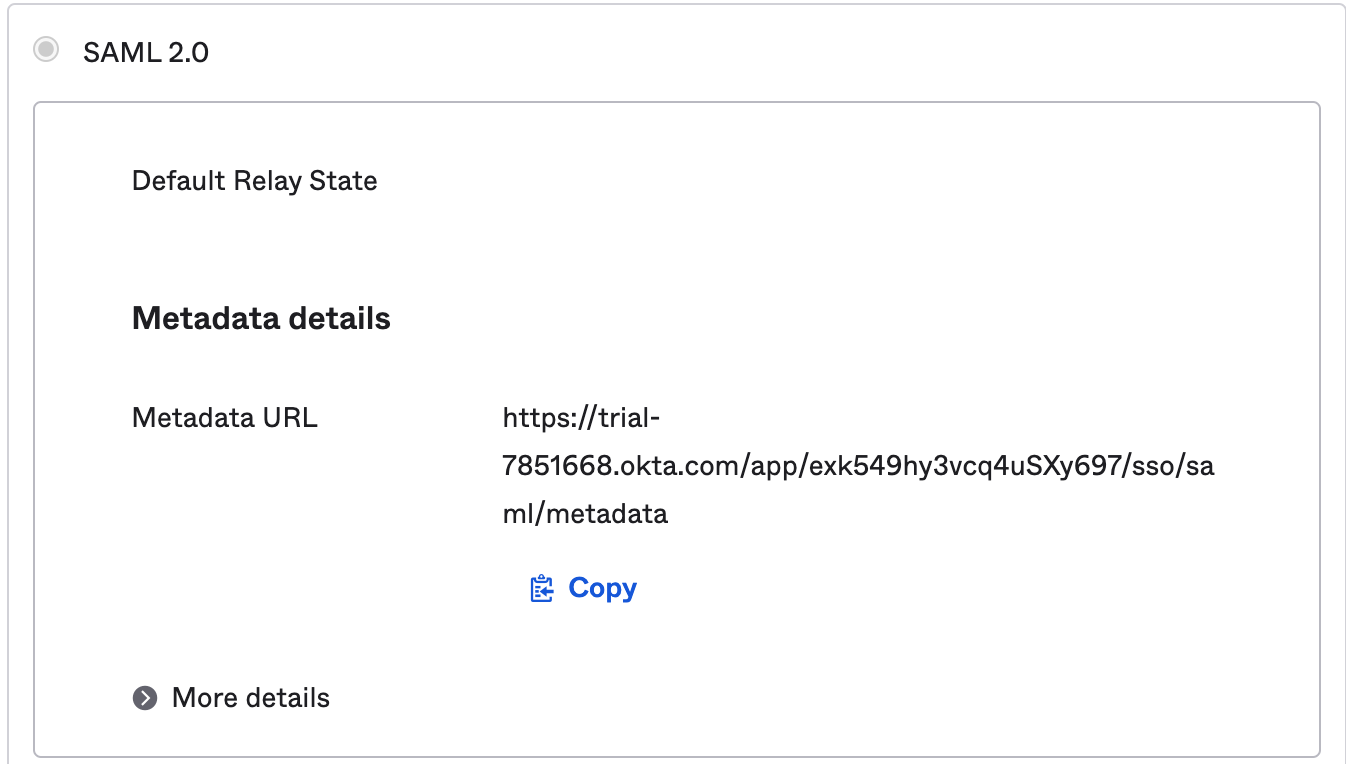
Under Sign On tab for the new application
Select "View Setup Instructions"
Copy and save the Identity Provider Single Sign-On URL
Copy and Download the X.509 Certificate
Assign users/groups to the application
Yotascale - Complete SAML Auth Provider configuration
You should still be logged in and on the SAML Auth Provider configuration page
If not, login again to Yotascale with a user account that has Admin role access
Follow the same steps to add a new SAML Auth provider as described above.
Make sure to add the same Organization name for SAML
Enter the following information:
Organization Name - make sure it is the same one entered earlier
SSO URL - Enter the Identity Provider Single Sign-On URL from Okta Application recorded earlier
IDP Certificate - Paste the X.509 Certificate from Okta Application recorder earlier
Tenant domain - the domain name of your users that will be using Yotascale
Auto Provisioning set to Enabled - When user authenticates through Okta, the user account will automatically be created in Yotascale User list.
Active - set to Enabled
Select “Add Auth Provider”
Configuration is now complete and users should be able to login via Okta successfully.
If you run into any issues, please contact our support team.