
User Management
Overview
Yotascale offers a way to customize the app based on the needs of the end user. Admin users are able to create User Groups and Roles that define what views and actions are available to individual users. A User Group is used to manage what Lens or Contexts are available to it’s users. A Role, on the other hand, defines what actions Users are allowed to perform. Roles are assigned to User Groups and Users are automatically assigned the Roles of the User Groups to which they belong. It is possible for a User Group to include more than one Role. It’s important to know that any User assigned to a User Group will have the privileges associated with ALL of the Roles that are in that User Group. A Role gets assigned to a User Group when the User Group is created so it’s a good idea to make sure that the Role with all of the appropriate privileges for that group is created first.
User Groups
A User Group manages which Contexts a User is allowed to see. There may be many reasons that you want to limit what an enduser is allowed to see in the app. A fairly common one is allowing managers or teams the ability to monitor costs within their own department without cluttering their view with the costs incurred by other departments. Every Yotascale tenant starts with 2 User Groups - Global Admin and Global Viewers. To see a list of current User Groups and add new groups. Go to Settings and Click on User Groups under Users and Permissions.

User Groups
For any User Groups that already exist, except for Global Viewers and Global Admins, there will be a menu brought up by the 3 dots on the right that allow you to edit or delete the User Group. Editing the User Group is very similar to the process for creating a New Group which you do by clicking on the +New Group button.
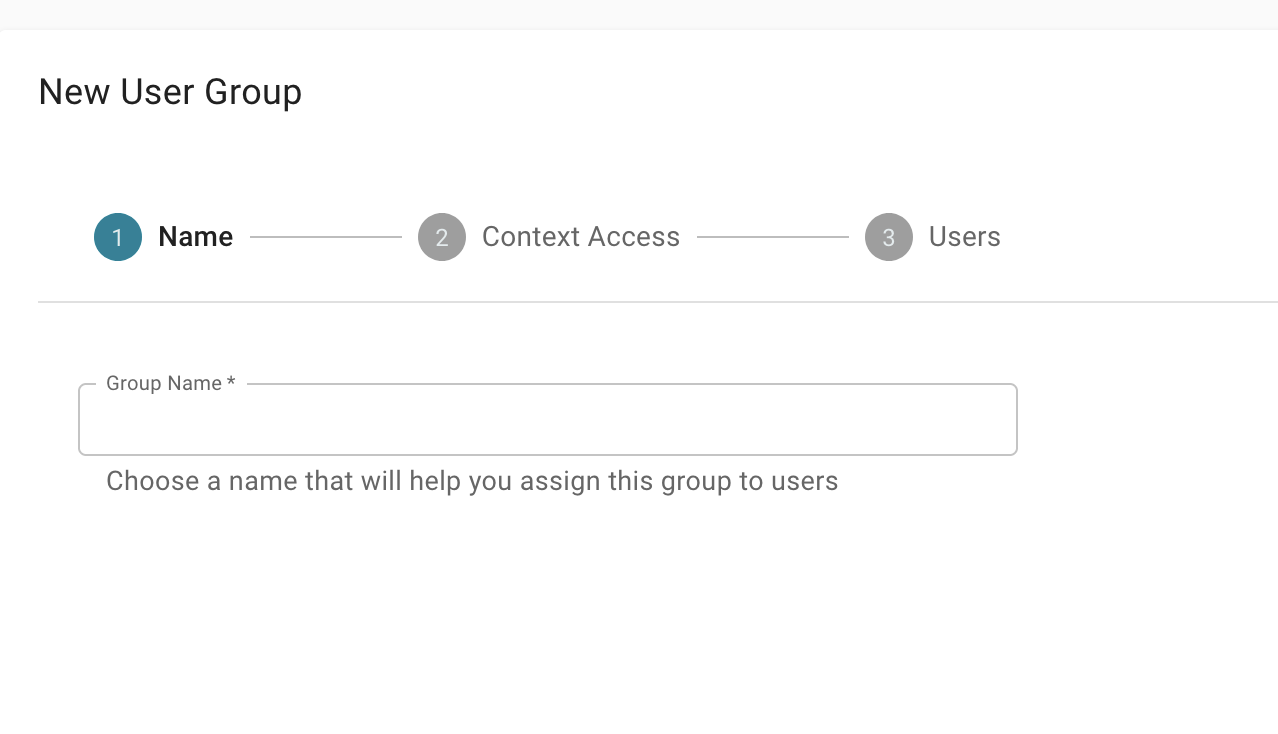
The first thing to do when creating a User Group is to give it a name. A name that is descriptive of the purpose for the group is generally a good choice. When you have entered the name that you want to use click ‘Continue’ at the bottom right of the screen to get to page 2 of the setup form.
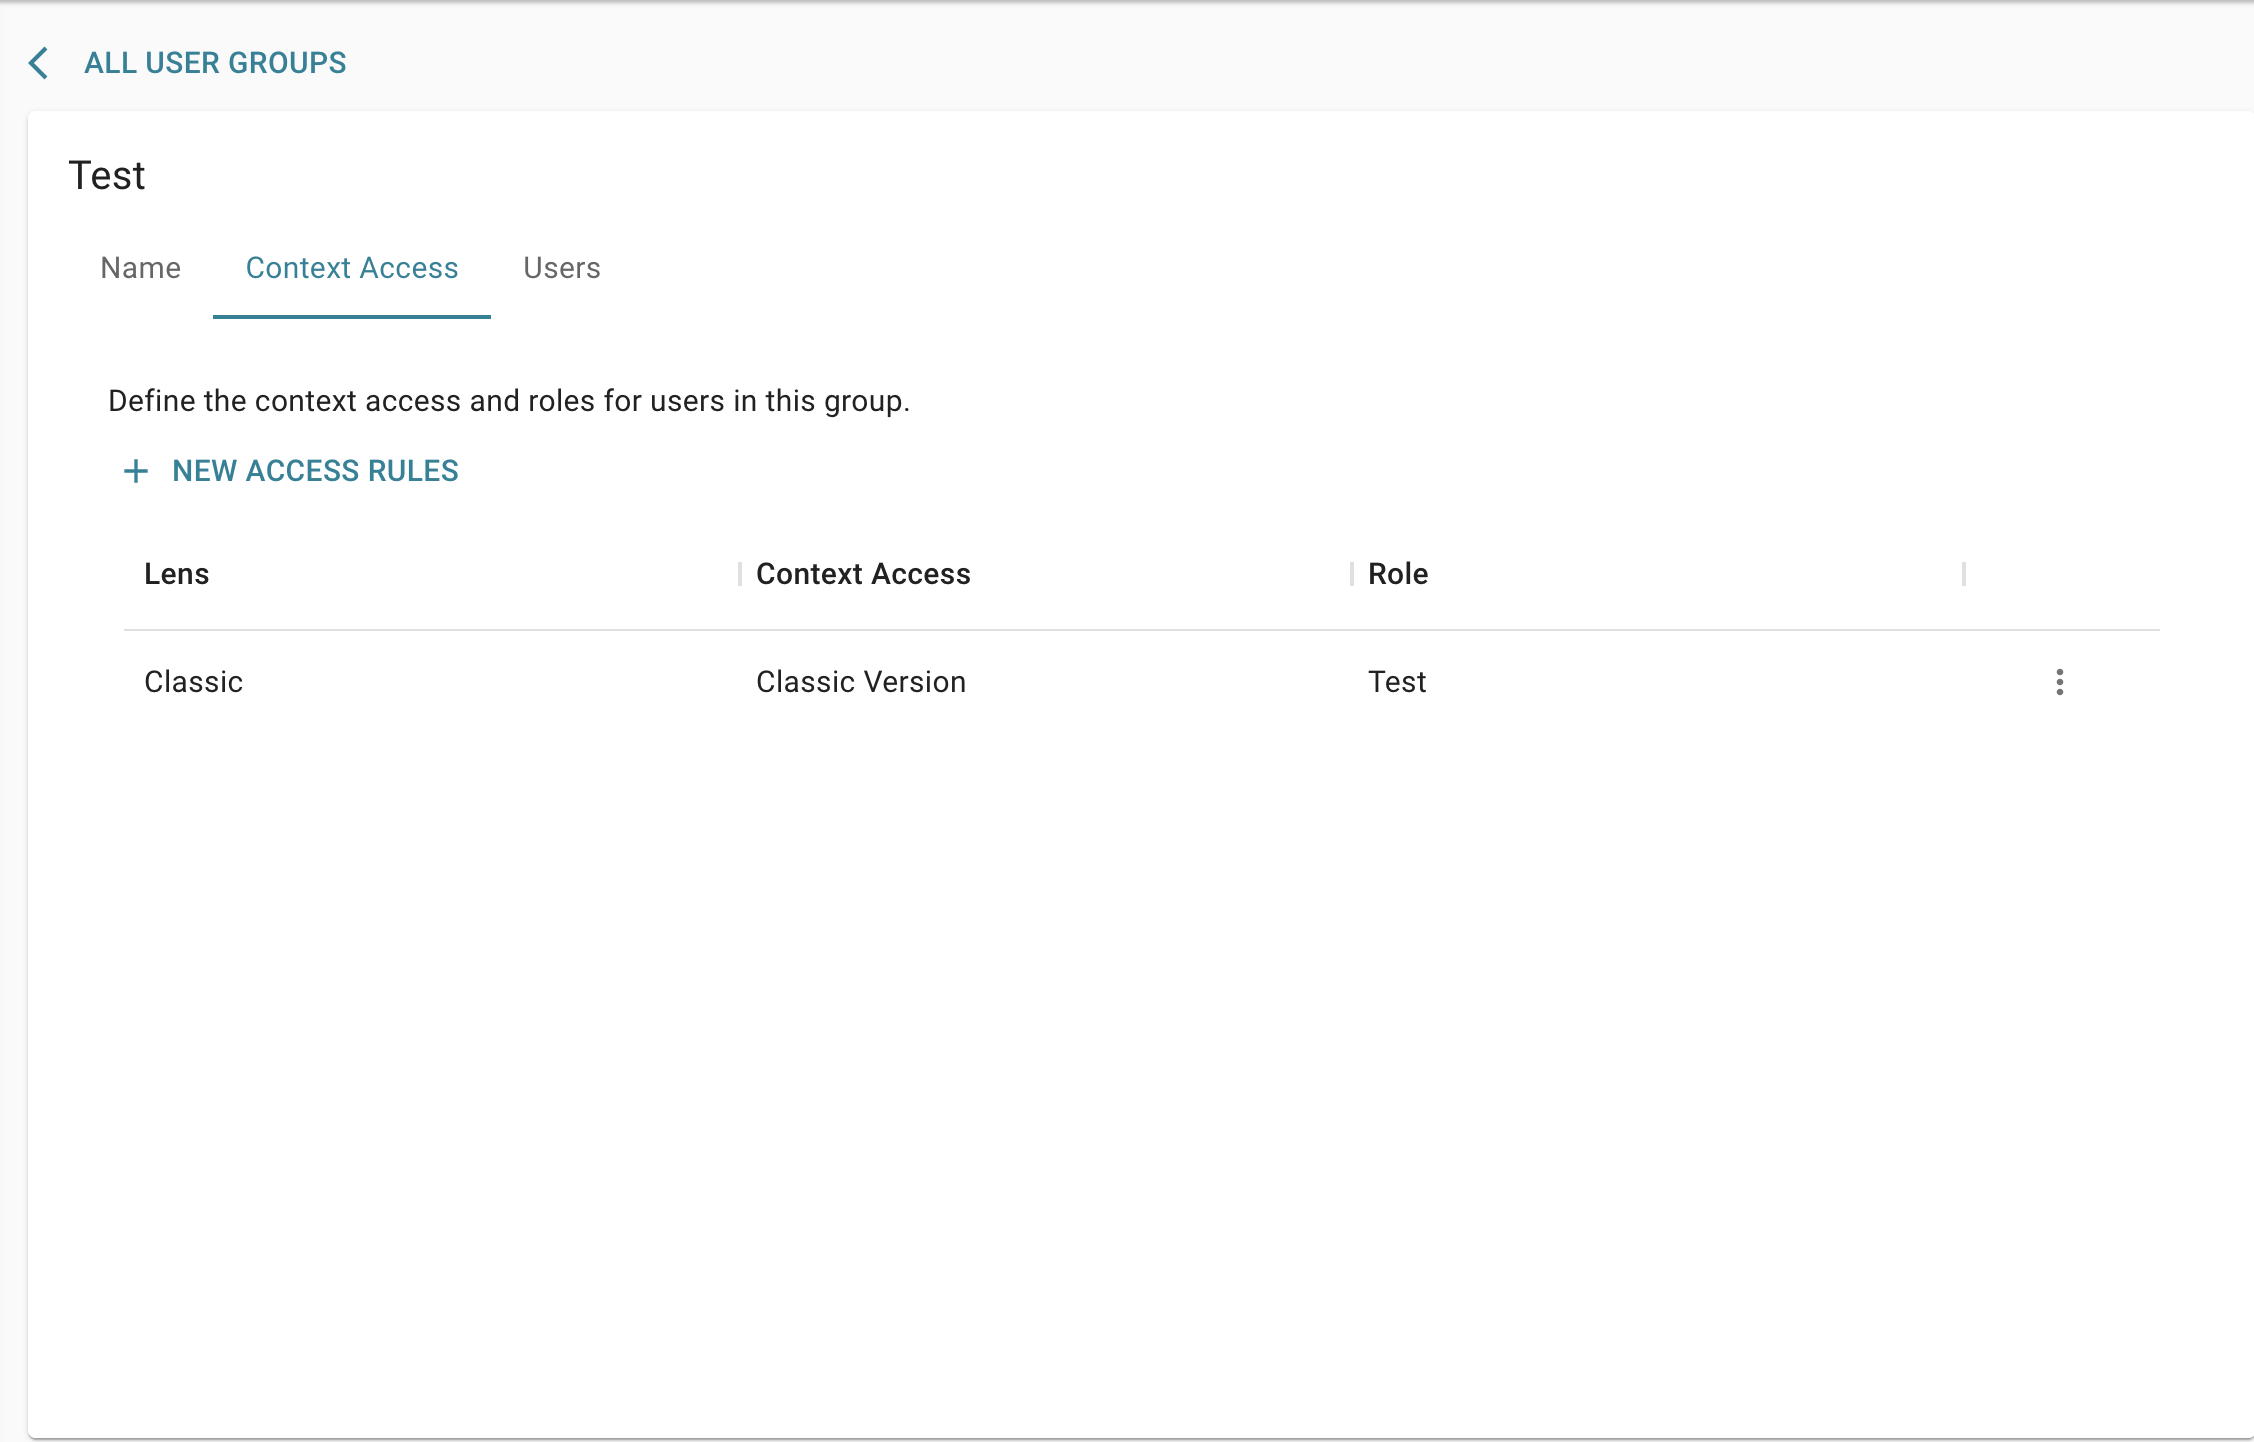
On Page 2, you will set up the Context Access for the User Group. Users in this Group will be able to see only this Context and all of it’s Child Contexts. So the further down the Context Tree you set the access the less data Users in the Group will be able to see. You can add multiple Contexts to a User Group and they do not have to be from the same root Context. Each Context that you add will also have a Role attached to it. If you need to delete a Context from a User Group, just click on the 3 dots on the right side of the row for that Context and select ‘Delete’.
Adding Context Access
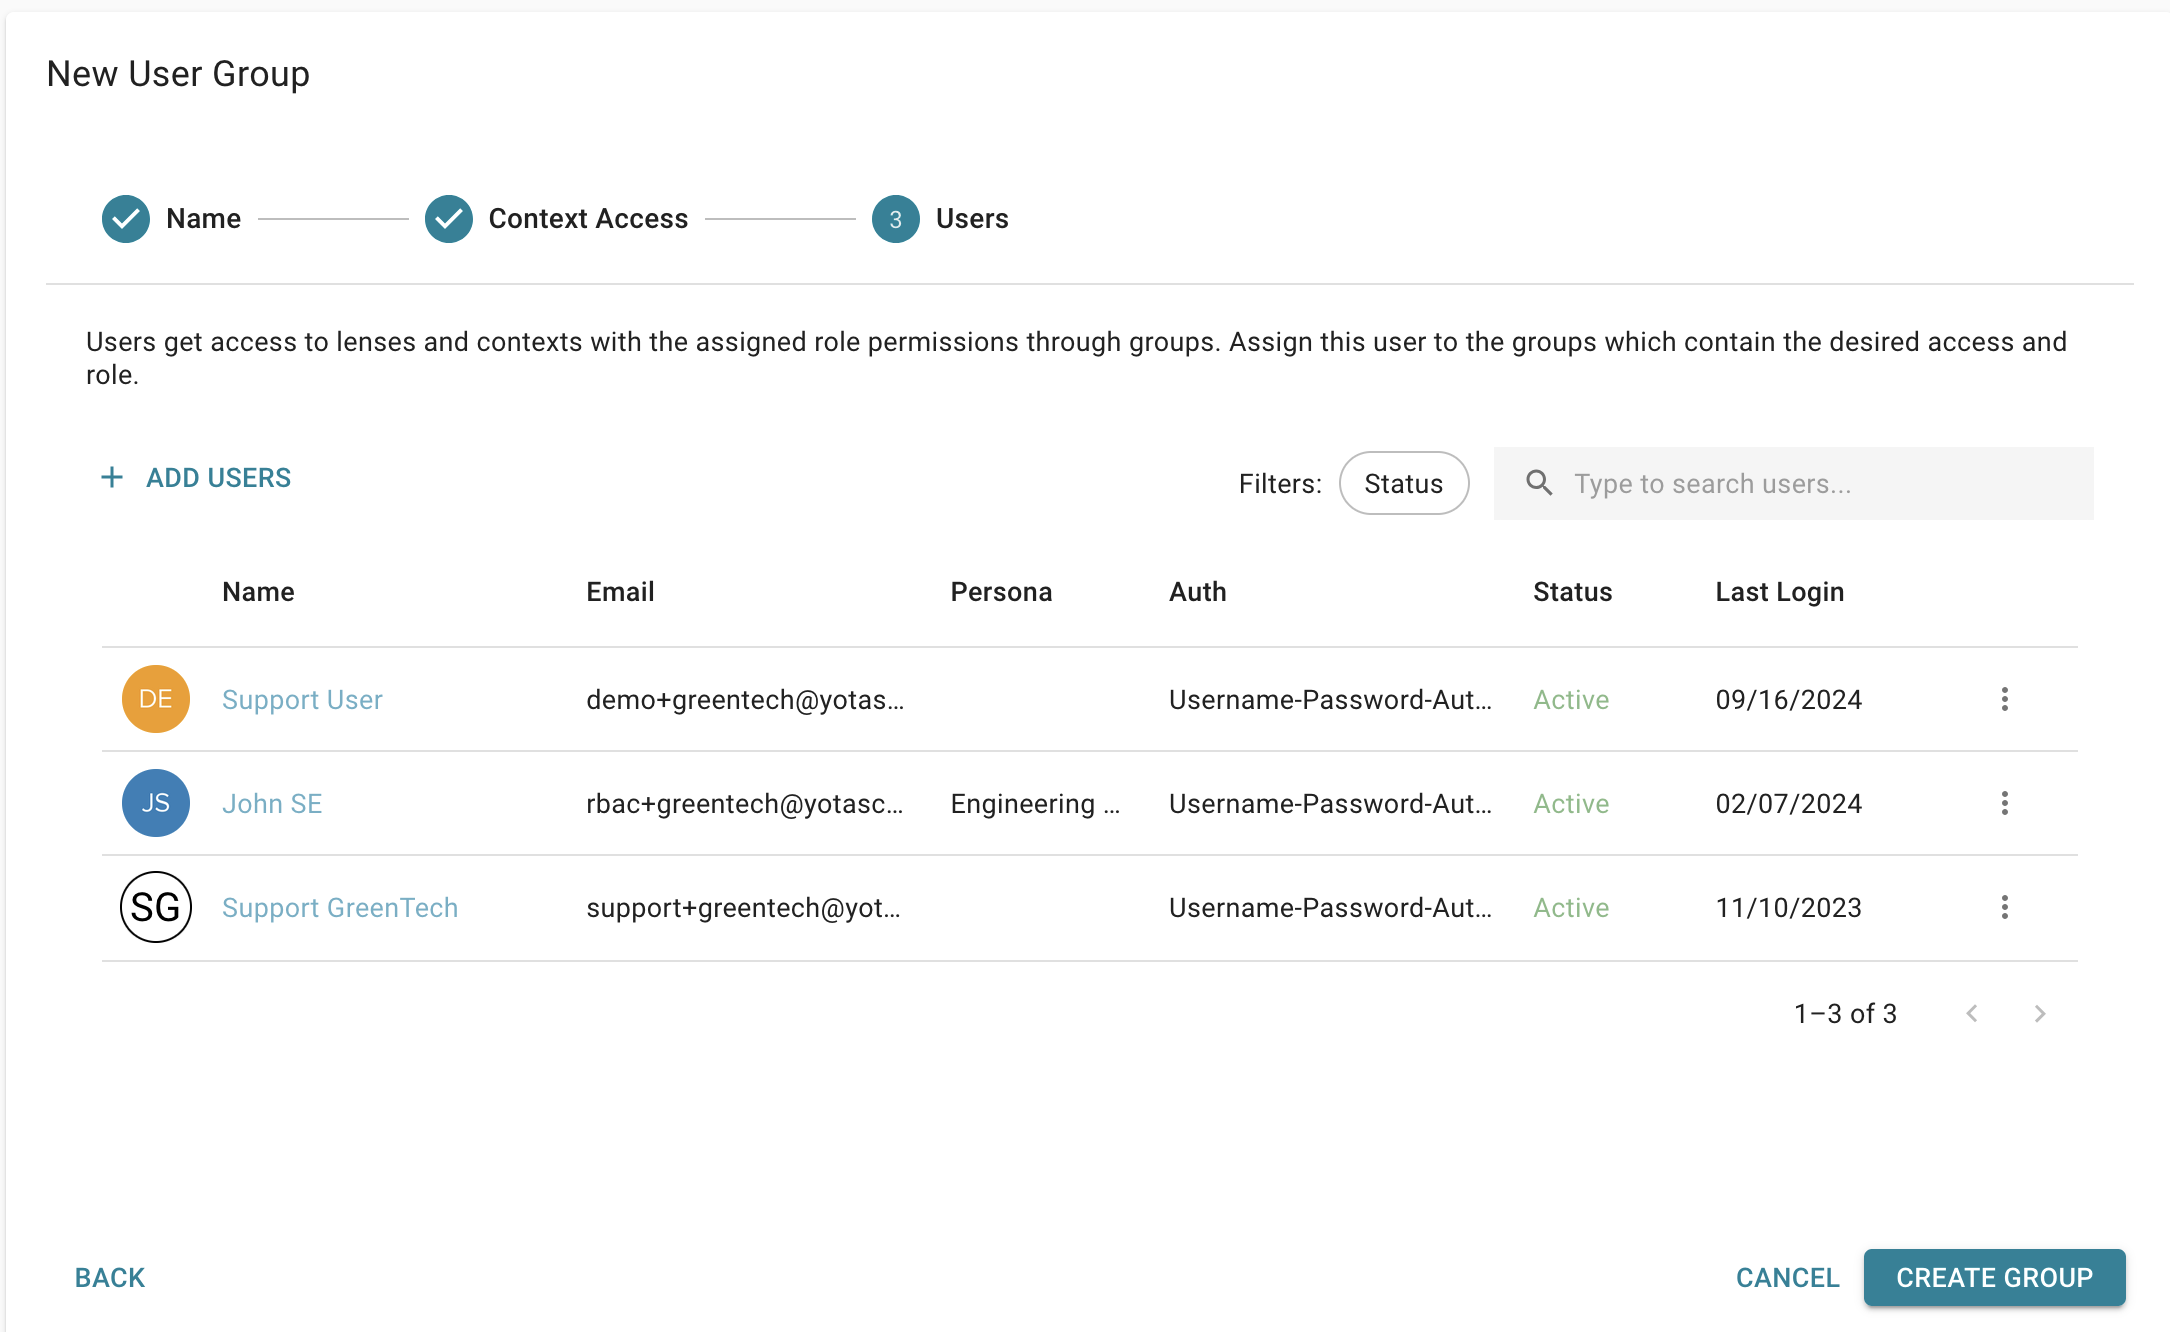
When you have added all of the Contexts needed for the User Group, click ‘Continue’ again to get to page 3 where you will add Users to the Group. When creating a new User Group the User List will initially be empty. Click on ‘+Add Users’ and check all of the Users that you want to add to the Group. and then click Create Group at the bottom right of the screen.
If you want to remove a User from a User Group, edit the User Group and get to this page. Click on the 3 dots on the right side of the User’s row to bring up a popup with the option to delete them from the User Group. Note that the default groups 'Global Admins' and 'Global Viewers' do not have this option. You can still remove a user from either group but you will need to do so by choosing the user from the User List, choosing Groups from their page, and deleting the group there with the 3 dots menu.
When you are editing an already existing User Group, you can click on each of the sections listed at the top of the page to make changes to that section. When done, switch back to the ‘Name’ section and click 'Save' to save your changes.
Roles
Where User Groups control what Contexts a User has access to, Roles define the permissions a User has within those Contexts. Users cannot be assigned directly to a Role. Roles are assigned to User Groups and any User in that User Group is automatically granted all the permissions of the Roles for that User Group.
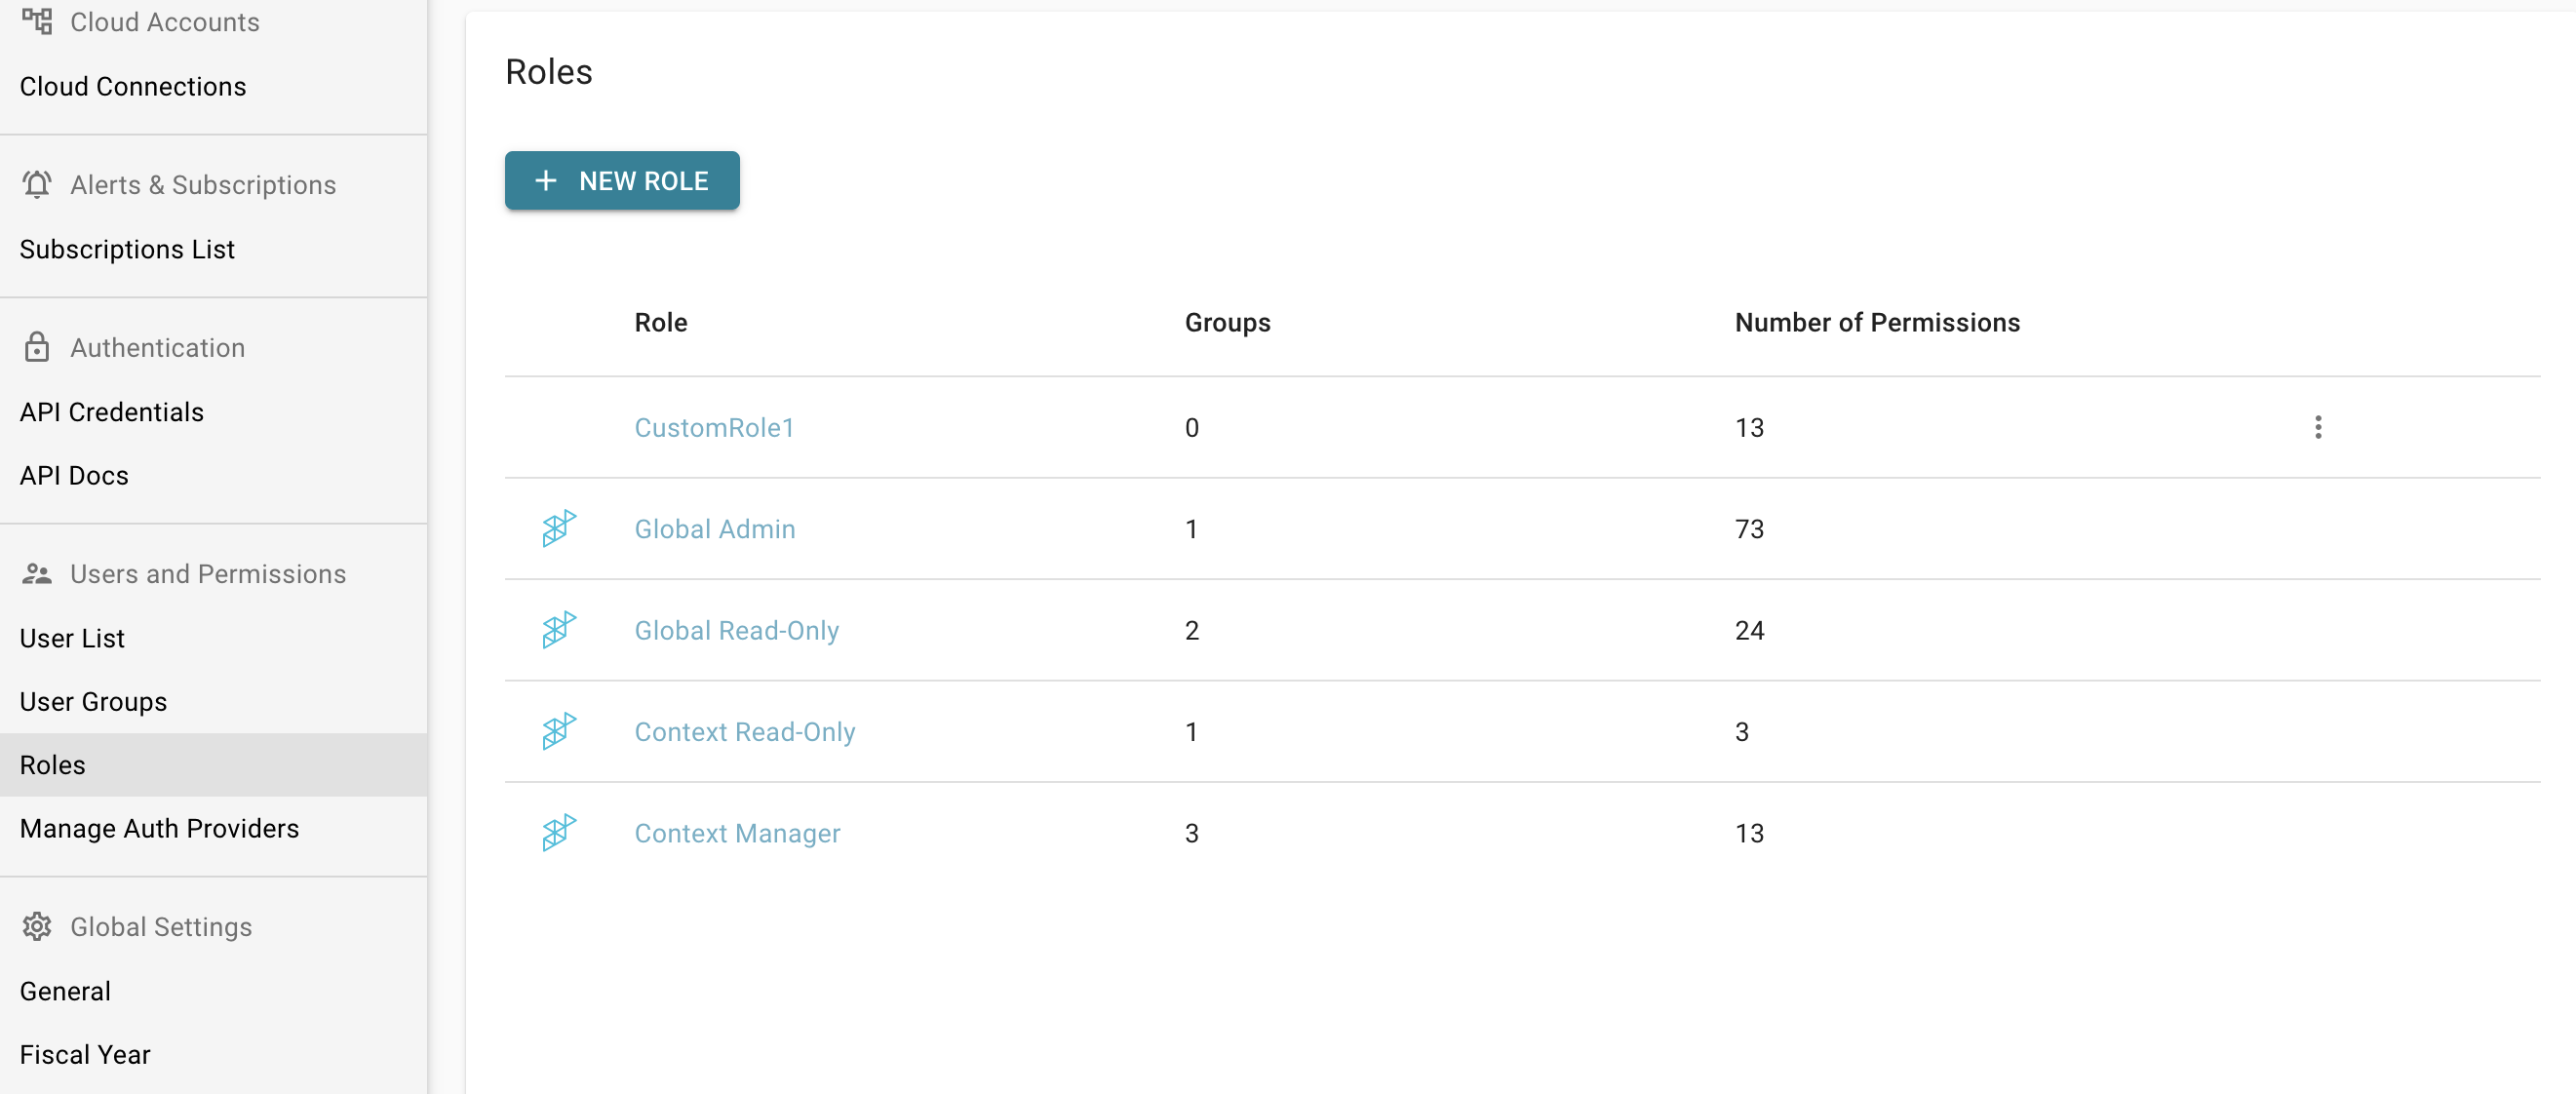
You can edit the permissions of any of the Custom Roles you have added by clicking on the 3 dots on the right side of the row for that Role and choosing ‘Edit' from the popup menu. That is also where you will find the option to delete a Role that is no longer needed. To add a new Role, Click on the '+ New Role’ button.
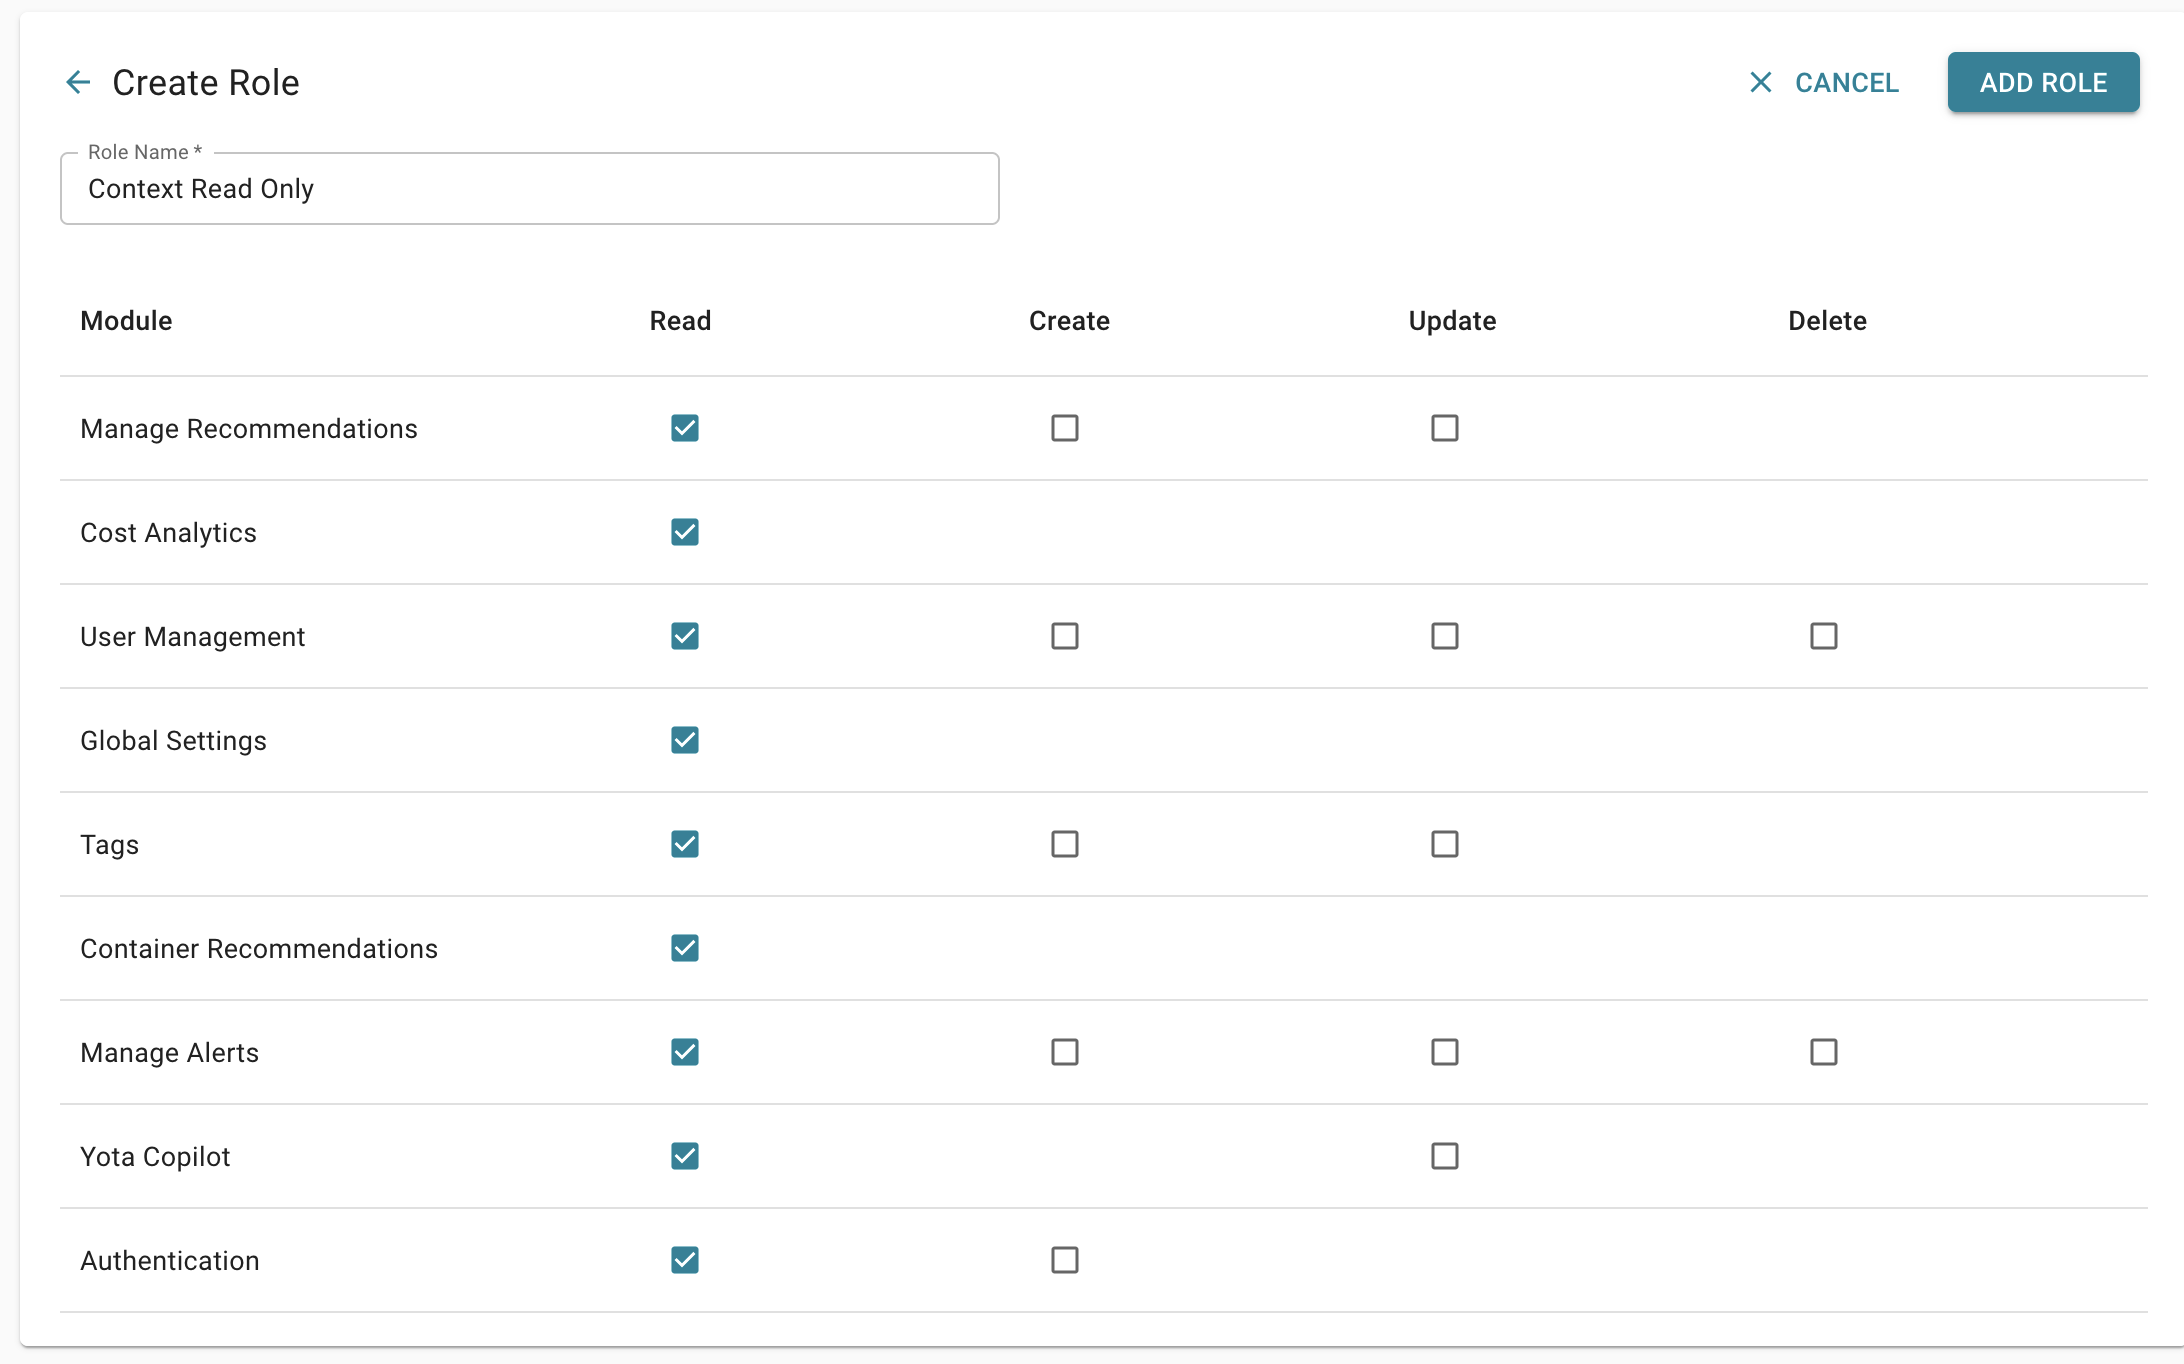
Here you can grant Roles the permission to Read, Create, Update, or Delete in various parts of the app. If you take away the Role’s ability to ‘Read’ a part of the app, that section will not even be visible to them when logged in.
Users
Yotascale allows users to be automatically added by your SSO Auth Provider through Automatic Provisioning. For Instructions on how to set up a SSO Auth Provider see Manage Auth Providers If you prefer not to use Automatic Provisioning or prefer to have logins based on Username/Password, you can manually add users in the Settings area of the app. It is a good idea to have at least one Admin User with a Username/Password login available to grant access if something goes wrong with your Auth Provider and you need to update settings. Simply Click on User List under the Users and Permissions section and then click on “+ NEW USER” to bring up the following form.
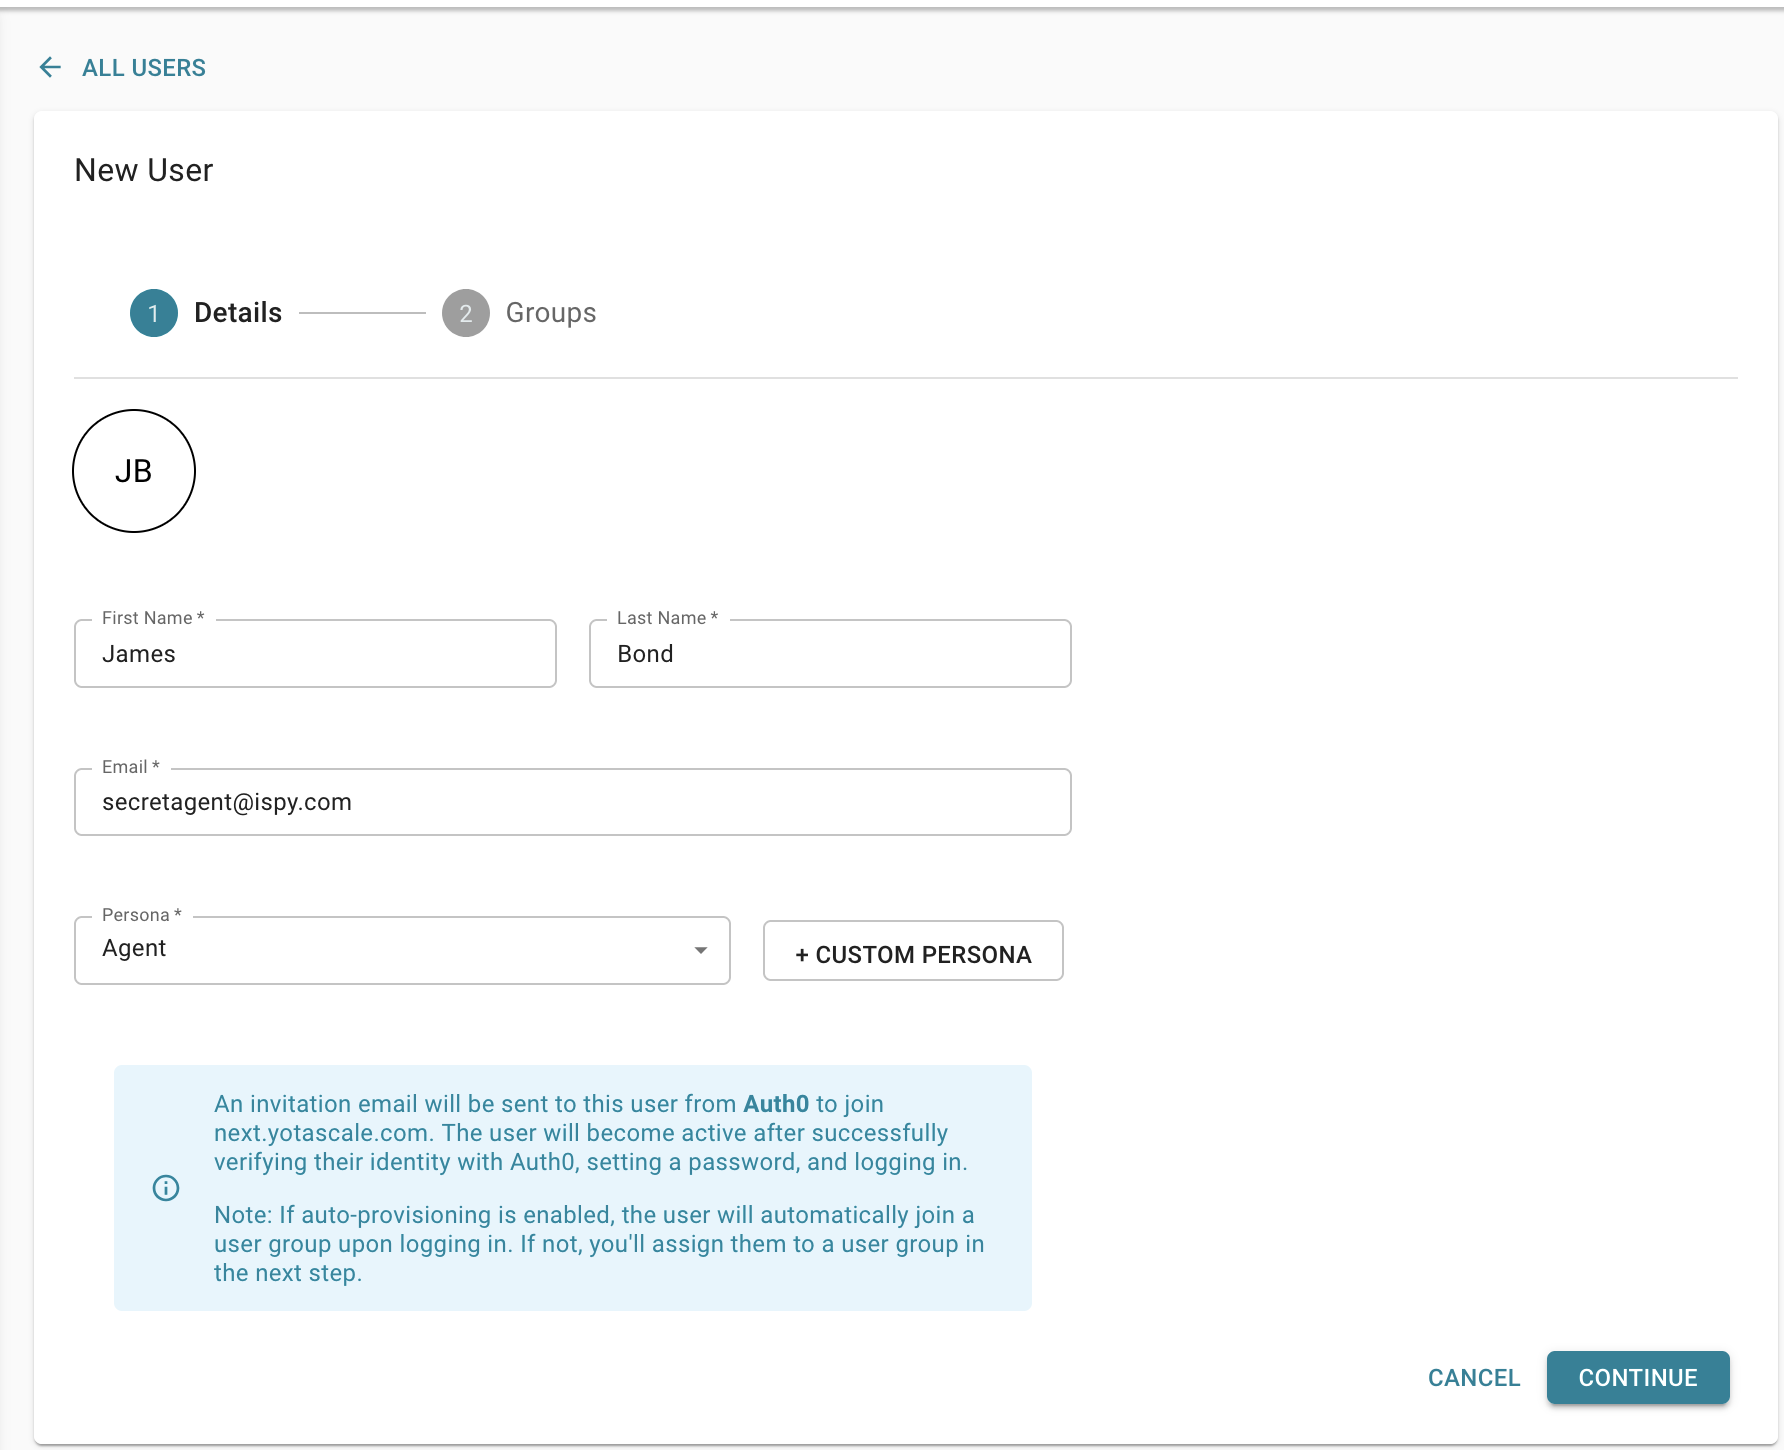
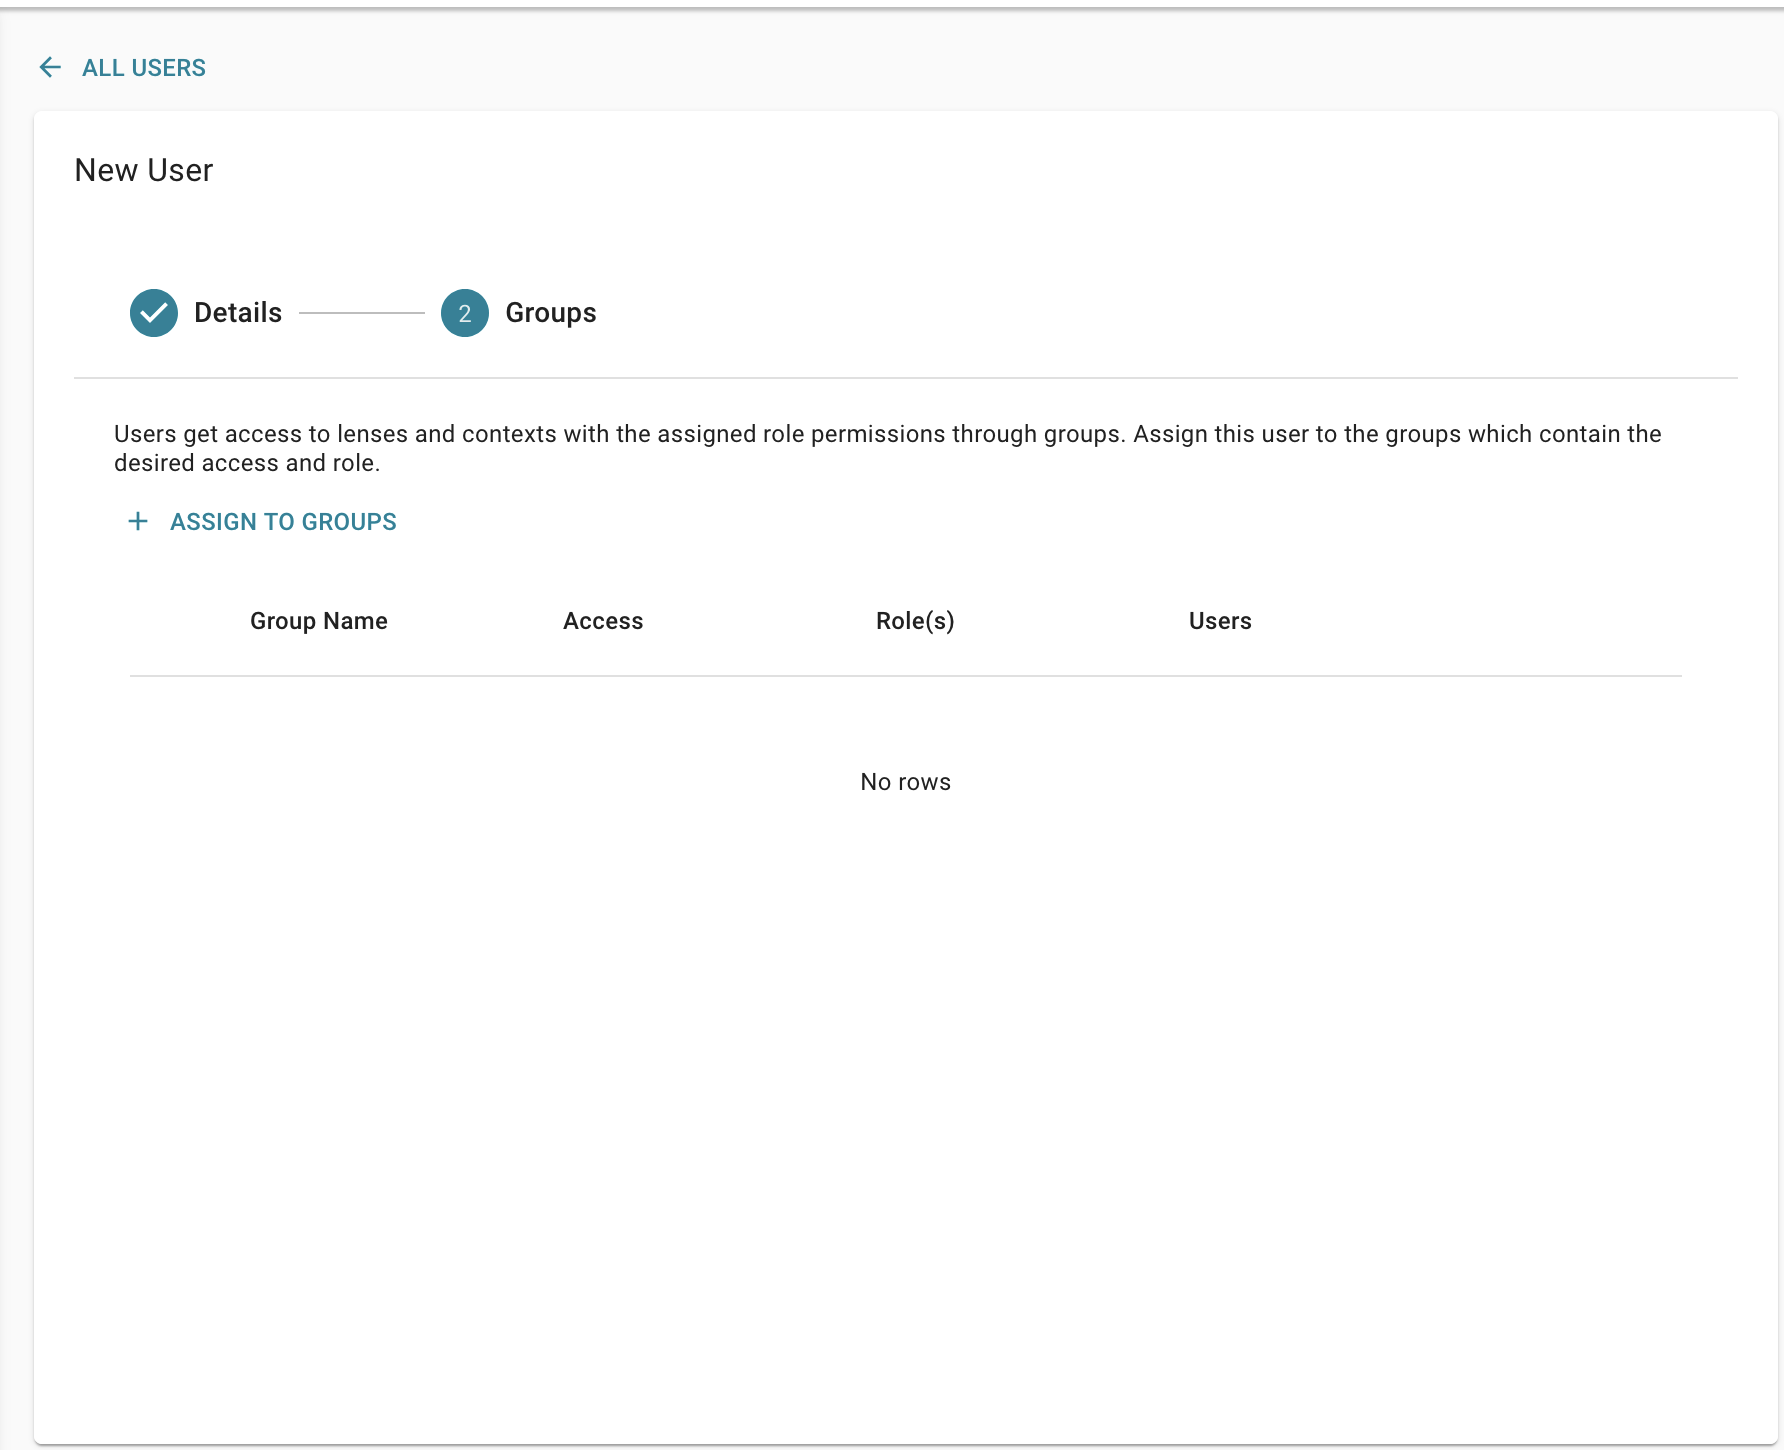
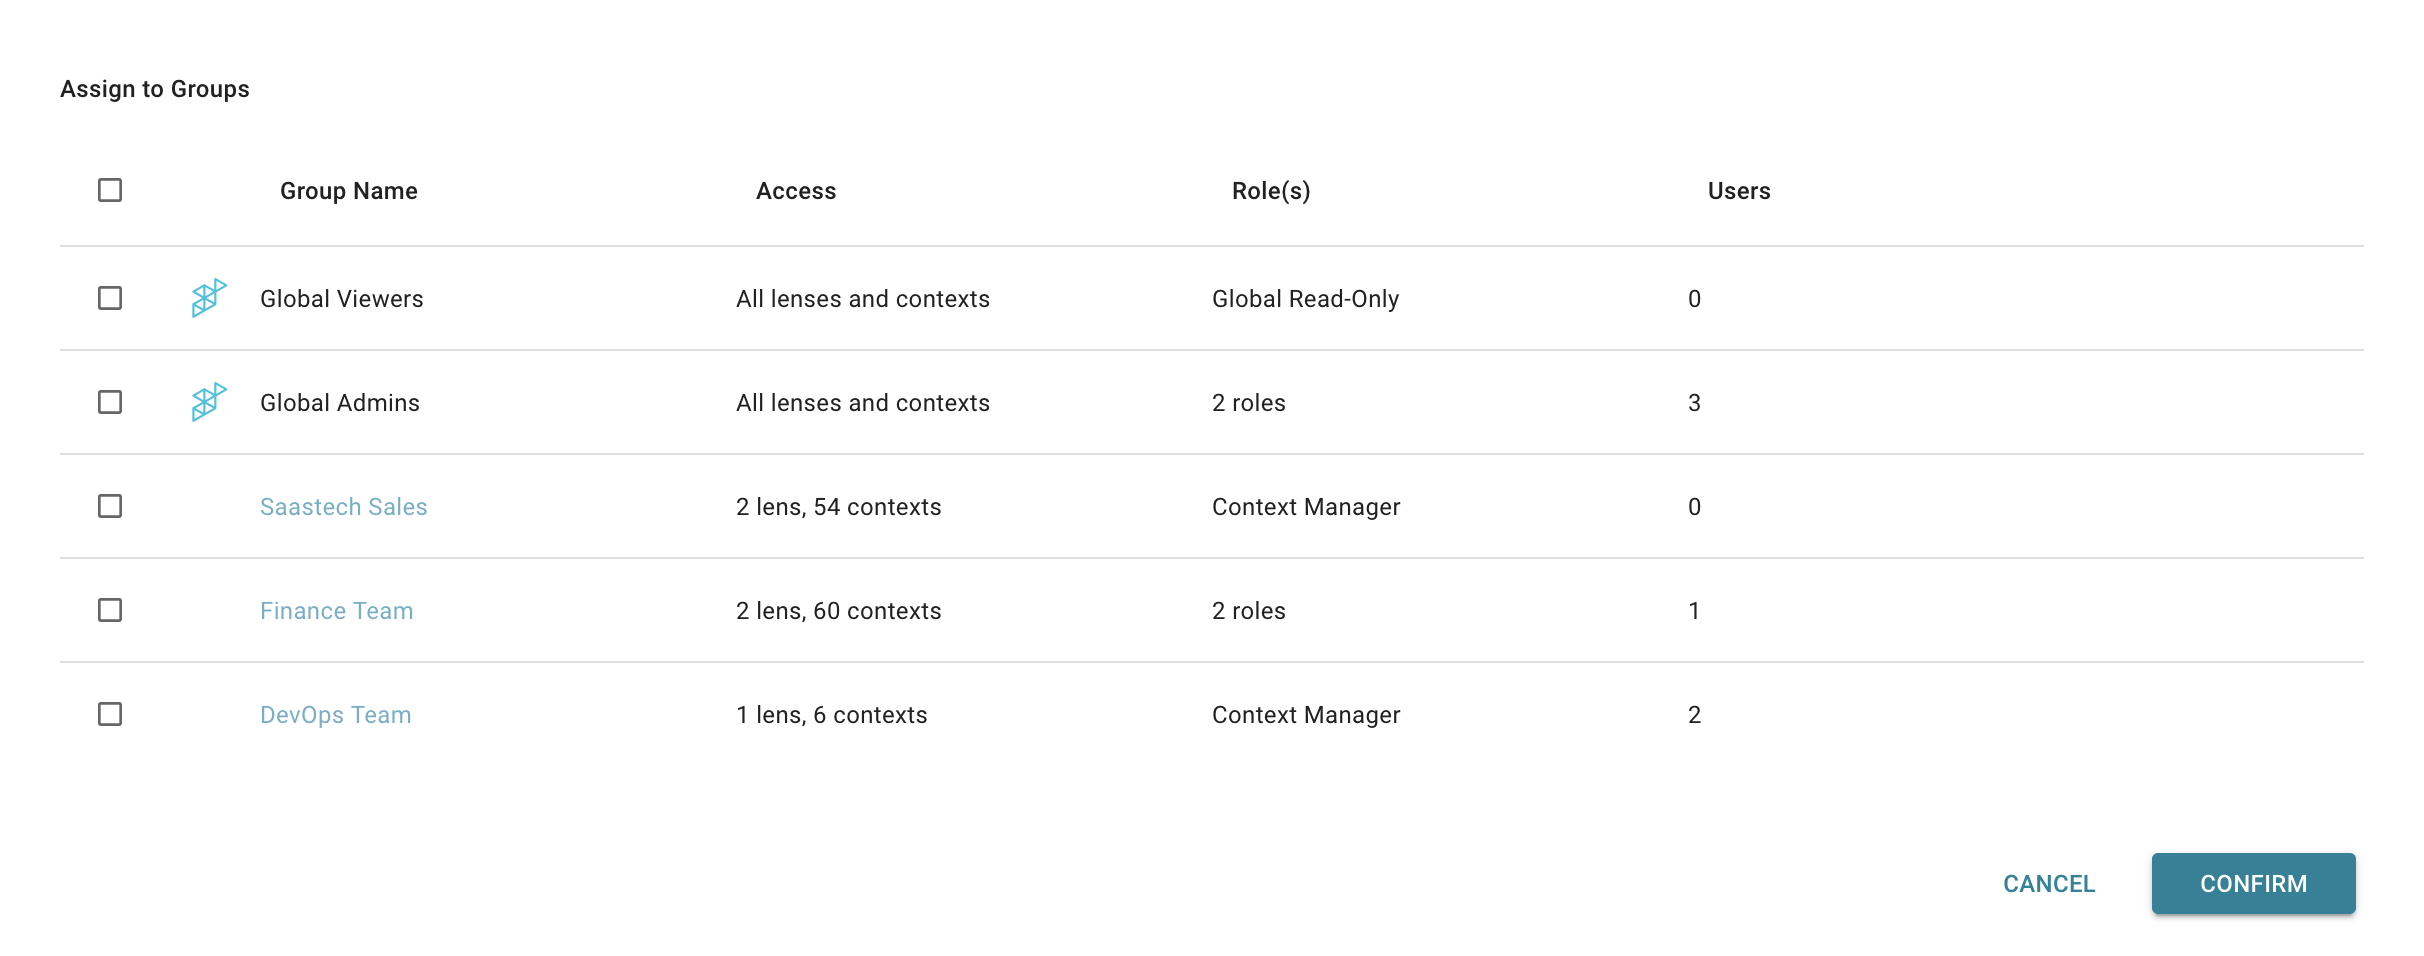
Fill out the information about the User you are adding and Click Continue. This will bring up page 2 of the form where you can add the User to User Groups that match the level of access you want them to have.
Managing Auth Providers
Yotascale supports SSO through Google, SAML, Ping Federated, and Okta Open ID. Google can be enabled alongside any One other Auth Provider. To add an Auth Provider, go to Settings and Under Users and Permissions choose Manage Auth Providers.
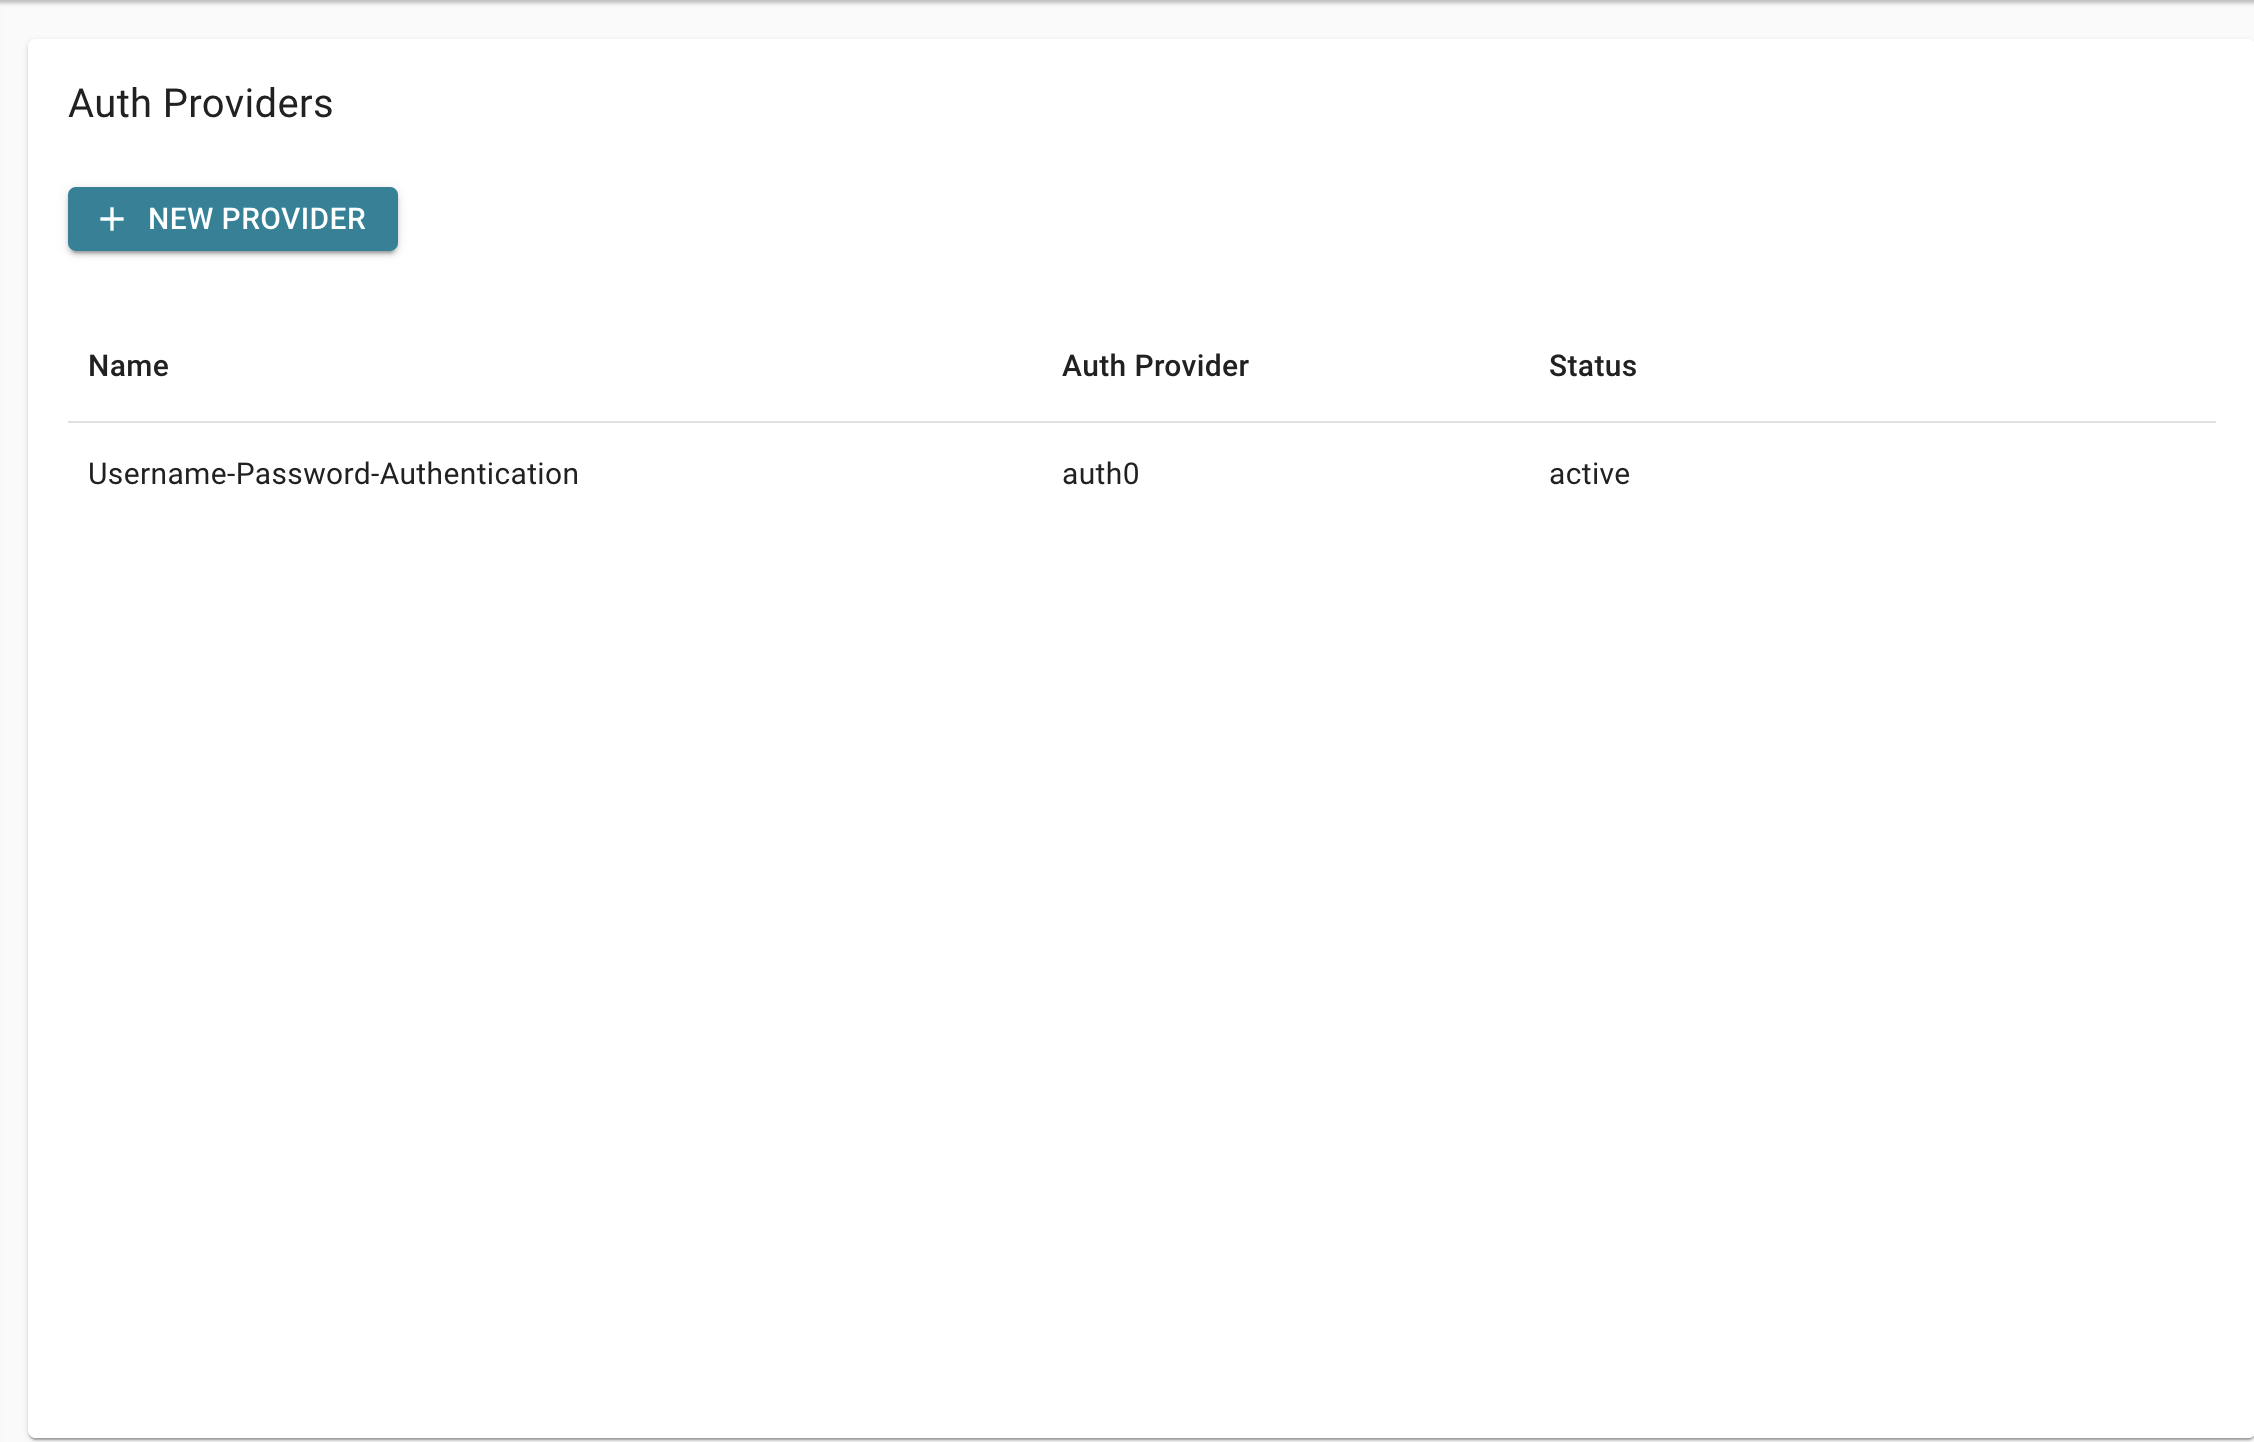
Click on +New Provider to add a New Auth Provider. On the Next page you will choose the type of provider and follow the instructions linked below for that Provider.
You will see your new Auth Provider added to the list when you return to the Manage Auth Providers page.

To edit or delete an Auth Provider from this list, click on the 3 dots on the right side of the row and choose the appropriate option.